
| 1.Starting the application and Navigation -Load the system from http://empoweratscale.org -View the different items on the dashboard |
Public/Guest Account  |
| Regions 1-Click on the 2-Select country, to view country page Directory 3-Click on the 4-Select directory of your choice to view details Resource Centre a-Click on the Resource Centre Menu to view a resource centre details b-View the available list in the resources section c-Enter an item in the search field to search items in the resource centre. Files/Document Repository a- Click on the b- View the available list of public documents section c- Enter an item in the search field to search for a document. Events a- Click on the b – View the available list of public events c- Enter an event in the search field tosearch for an event. |
| Setting Up a user Account a- Click the b- Fill the account creation form/ or use your existing social media/Email profile to signup c- Make sure you capture the mandatory fields Once done, d -click Check your email for an account activation email; Click on the activation link to complete the process. |
| Logon to a user Account a-Click the b -Enter your username and password.Once done, c -Click |
2. Managing a User Profile  |
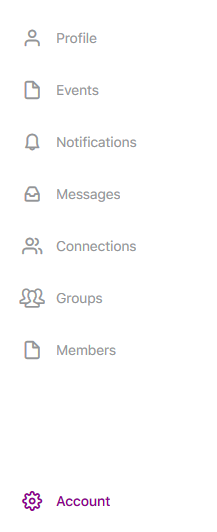
| User Profile 1 – Navigate to the vertical Menu on the left hand corner 2 – Click 3 – Click 4 – Modify profile information in terms of (Bio-data, Hobbies, Education and employment, contact info, Profile Cover Photo, Profile passport photo) 5 – Click  to save changes to save changes6 – Click 7 – Click 8 – Click 9 – Click 10 – Click 11 – Click timeline to view information you have posted over a period of time 12 – Click 13 – Click 14 – Click 15 – Click 16 – Click |
| Privileged Account |
| Regions 1- Click on the  menu items to to view details; menu items to to view details;2 – Select country, to view country page 3 – Click |
|
| Members 1- Click button to members; 2- Click 3 – Click any of the buttons, 4- Click to 5 – Click 6 – Click 7 – Click 8 – Click Subgroups 1- Click 2- Click Files/Document Repository 1 -Click on 2 -Click on  button to add new document button to add new document3 – Enter document details including the correspond document permissions 4 – Click to save or save and continue editing the document. Sending Invites 1 – Click to send invitation to different groups 2 – Select from available users 3- Enter Invite message 4 – Click to send invite Photos or Album 1 -Click to 2 – Click 3 -Select photo to upload Click  to complete. to complete. Albums 1 – Click 2 – Select 3 – Click to complete. Managing a Group a – Click on b – Review details of the group c – Click to make changes;d – Repeat steps a-c for Settings, Photos, Cover Photo, Members, Docs, Discussions, Buddy Drive , Delete Directory 1 – Click on the  Menu to view a dropdown of directories Menu to view a dropdown of directories2 – Select directory of your choice to view details 3 – Click 4 – Click  to connect with group member. to connect with group member. Resource Centre 1 – Click on the 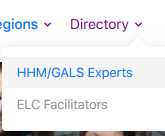 Menu to view a resource centre details Menu to view a resource centre details2 – View the available list in the resources section 3 – Select an item to view details 4 – Enter an item in the search field to search items in the resource center. 4 – Add a response/Comment to a resource Item 5 – Click 6 – Click Click Files/Document Repository a – Click on the b – View the available list of documents section c – Enter an item in the search field to search for a document. d – Click on  button to add new document button to add new documente – Enter document details including the correspond document permissions f – Click to save or save and continue editing the document. Events 1 – Click on the 2 – View the available list of events 3 – Enter an event in the search field to search for an event. 4 – Click  button to export events button to export events |
 | Account Settings 1 – Click on 2 – Click 3 – Click 4 – Click on  to change user account privacy settings to change user account privacy settings5 – 5 -Click on |
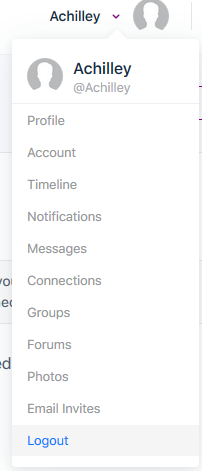 | Exit/Logout 1 – Click on 2 – A dropdown will appear 3 – Click on 4 – Done |


Responses